Quick Start
Typically, the assistant is communicating with the assisted using Skype, the phone, their favorite IM, or whatever tool they like. Then starting Dayon! allows for watching live the assisted computer screen.

|
Setup the Assistant Computer |
Dayon! Assistant is acting as a typical server application (the assisted is going to connect to) and as such you've to configure your network to make it visible from the outside world. First thing to do is to decide the listening port as shown in the following picture. Then authorize that port number in your firewall and possibly setup accordingly your NAT services (typically on your DSL router).

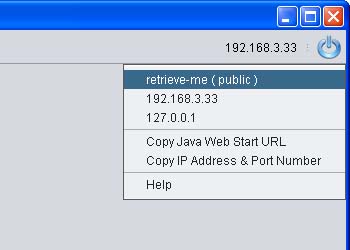
Then you've to determine which IP address you want to give to the assisted to connect to the assistant; you should typically give your public IP address. But for testing within your local network you might want to use a different one. You can retrieve your public IP address with the following menu:
As you can see on the following picture, the menu contains an item to copy to the clipboard the actual URL (generated from the selected IP address) required by Java Web Start on the assisted side. It is then easy to paste it into a chat session (e.g., Skype) for a single-click start on the assisted side.
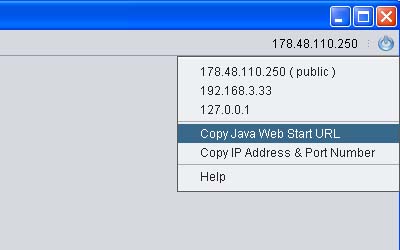
Note that this IP address is not required by the assistant application as it is listening on all the available network interfaces; but it will be used to generate the Java Web Start resources if you decide to start the assisted application using Java Web Start (more on this later).
That's it regarding the network configuration; you'll find more details hereafter in this page. But let's see first how to setup the assisted side.

|
Setup the Assisted Computer |
Dayon! Assisted is acting as a client application calling the outside world and as such there's no network configuration to setup. Since version 1.2, you've two different options to start the assisted application: either as a regular Java application or using Java Web Start.
Java Web Start - That's the easiest way (i.e., URL single-click start, automatic update, etc...). For your information, the Dayon! Assistant application is acting as a simple HTTP server during the initial setup/install of the Dayon! Assisted application. So, to start the assisted application, simply open into your favorite Web browser the URL as communicated by the assistant and follow the instructions:
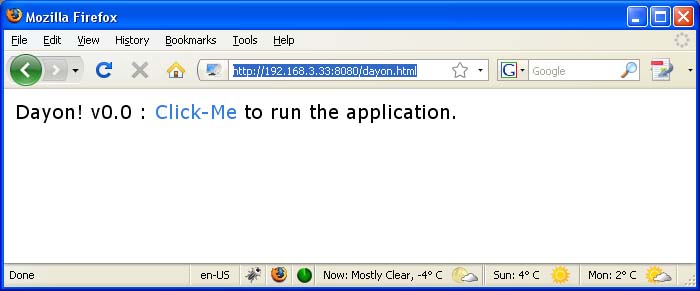
Then follow the Java Web Start instructions and trust the application:

Dayon! Assisted is obvioulsy going to use the network (and the local file system to save its preferences) and as such has to be signed to be authorized to use that resources. I've signed the JAR using a dummy self certificate. You have access to the whole source code to check that this application does not contain any sort of malware in it. By the way, talking about security, the application does not use yet any sort of encryption for its communication between the assisted and the assistant.
Regular Application - Download and install the Dayon! application as for the assistant side. Then start the assisted application (you should have a shortcut on the desktop) and enter both the IP address and the port number as communicated by the assistant:
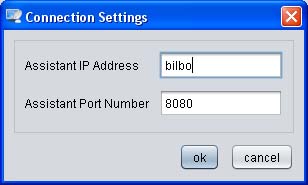
You'll then be shortly connected to the assistant that is monitoring your screen. Enjoy!

|
More on the Assistant Setup |
Use that form to setup how the assisted screen is going to be captured; you can configure the time (in milliseconds) between two captures (aka. tick) as well as the number of gray levels.

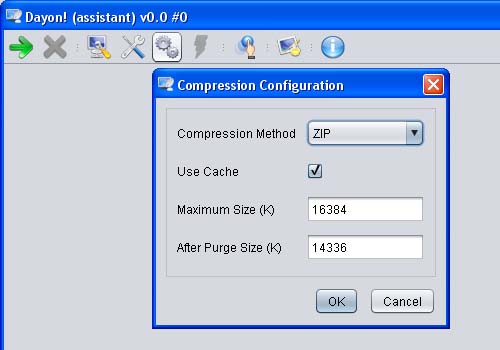
You can then setup the compression method; three methods are available: ZIP, BZIP2 and LZMA. BZIP2 and LZMA should give a better compression ratio but requires more CPU as they're much more complicated than ZIP and are currently implemented in JAVA (ZIP is being implemented using some native code in the JDK).
In addition a cache is used that allows for not sending many times the same bitmap as for example when opening and navigating menus (i.e., what's under the menus are not sent more than once). The screen is divided into many tiles, each one being possibly cached. You've to define the maximum number of tiles in the cache. Note that a tile is currently 32x32 pixels of 256 levels, that is 1K.
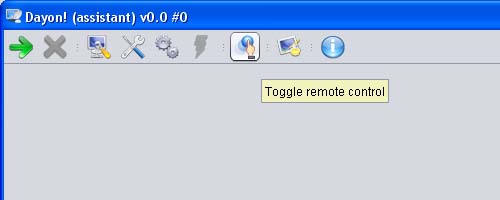
By default, the remote control mode is off; you can switch it on using the following icon:
That's about it. You can now start the session and then ask the assisted to connect. You'll be shortly prompted to accept the incoming connection:

You're now connected and monitoring the remote computer.
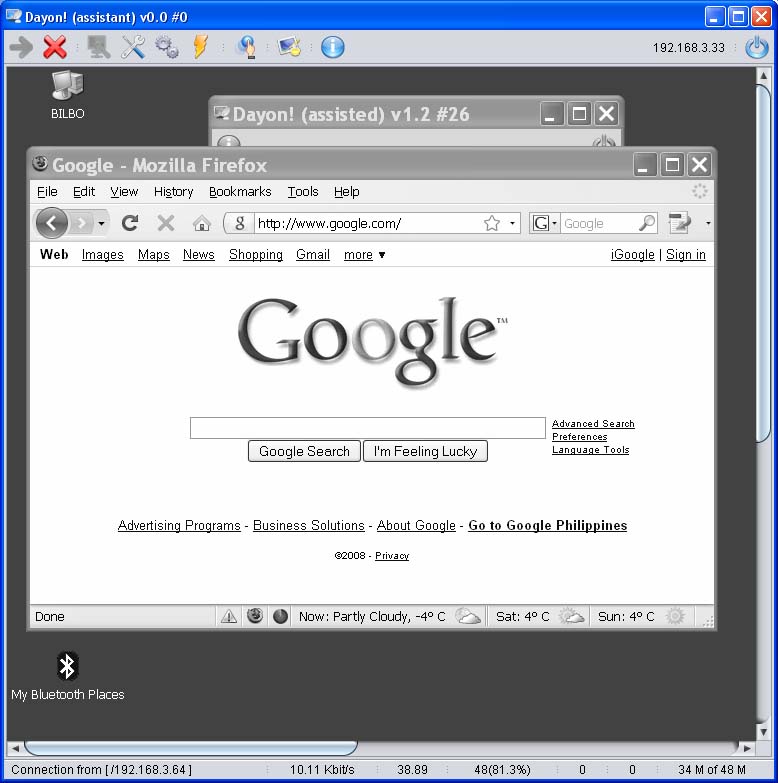
That's all folk! You can find more information in the support page.

